

CDN (Content Delivery Network) is one of the best tool to speed up a WordPress website and secure it. Your website loading time has lots of impact on your website SEO ranking. In Simple Term, CDN is the system of distributed servers (network) that deliver pages and other web content to a user, based on the geographic locations of the user, the origin of the web page and the content delivery server. In this post, I will Talk about How you can Install and configure Cloudflare CDN on your WordPress Website.
What is Cloudflare CDN?
Cloudflare is a Content Delivery Network (CDN) that acts as a proxy between a website and the visitor. This system enables users to receive cached static content from the nearest servers. With shorter physical distance, the site can load faster even on a shared hosting. As compare to other CDN Cloudflare have highest number server Network. Apart from delivering website content with lighting speed Cloudflare prevent DDoS attack, SSL certificate and network gateway between the protocols.
Follow the Following Steps to Install and Configure Cloudflare CDN on WordPress Website-:
Step-:1 Login to cloudflare.com and create an account.

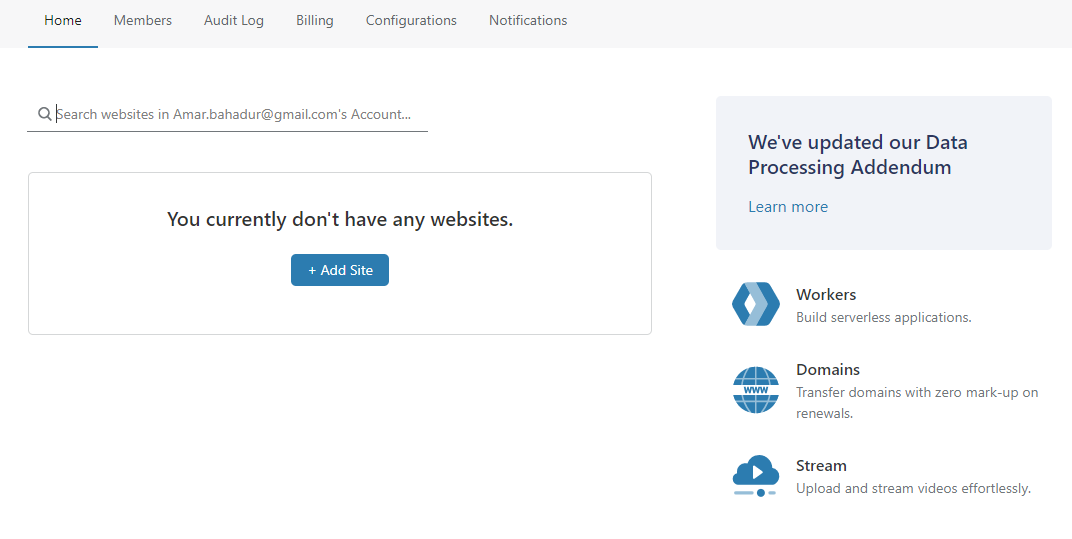
Step-:2 Head over to Cloudflare dashboard and add your website.
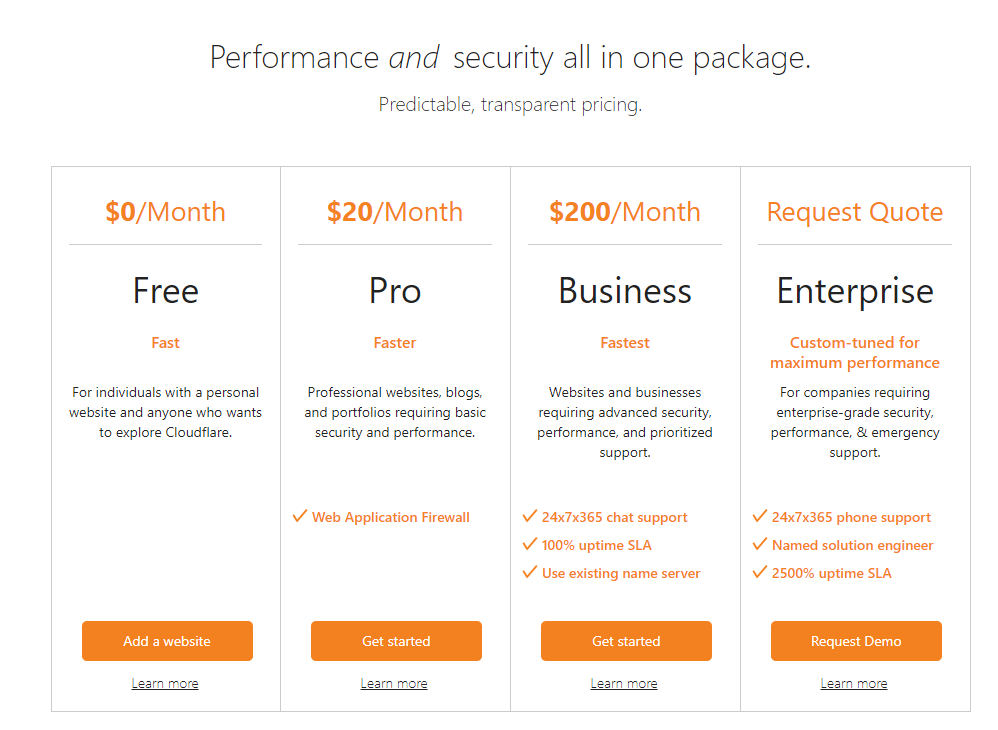
Step-:3 Choose your Plan, At this stage, I would recommend you to go with free plan.
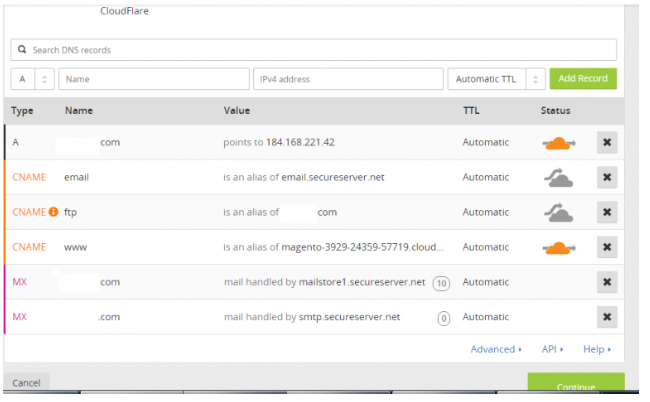
Step-:4 Once your WordPress site is added to Cloudflare, you’ll be prompted with the DNS details of your domain name. In this step, you can enable or disable Cloudflare for specific subdomains. I would suggest that you enable Cloudflare for your naked domain name and www subdomain. This way, Cloudflare will work on both www and non-www versions of your site.
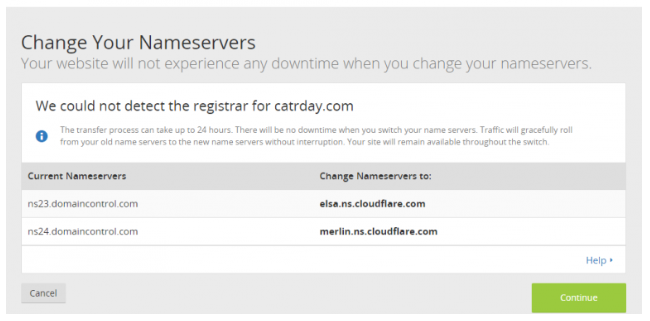
Step-:5 Now you have to Update your Name server where you have hosted your domain. Replace your Domain Registrar Name server with Cloudflare Name server. As shown in below image.
Now your Website got Integrated with Cloudflare CDN, Name server propagation may take some. For better management of cloudflare setting you can install Cloudflare WordPress Plugin. Head over to WordPress Plugin Directory and Install Cloudflare Plugin and Sign in with your Cloudflare Login credential.

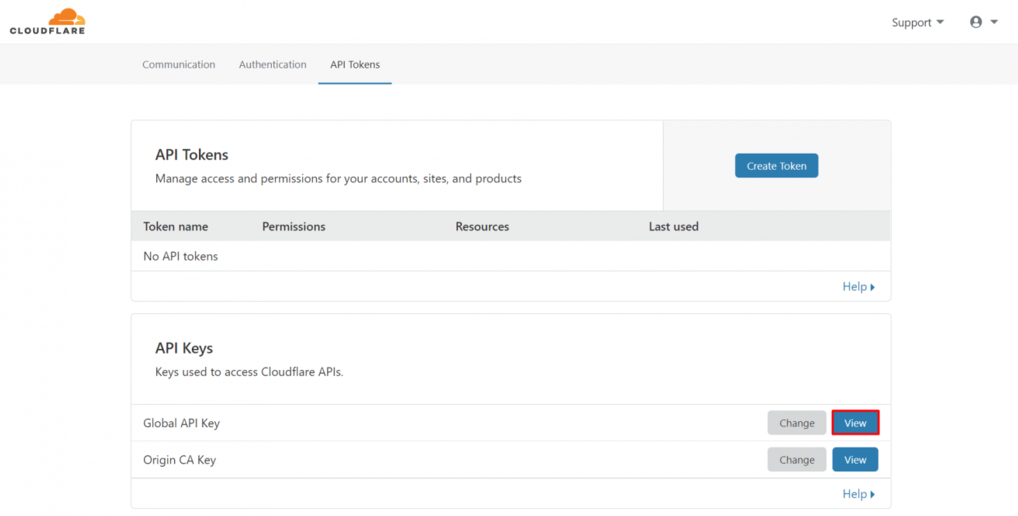
Now Go to API token section of your Cloudflare account and grab your Global API key. Enter your Cloudflare password, and then copy the provided API key. Go back to the plugin’s settings page, and paste the key to the login fields. Hit the Save API Credentials button.
If you like my work, Please Share on Social Media! You can Follow WP knol on Facebook, Twitter, Pinterest and YouTube for latest updates. You may Subscribe to WP Knol Newsletter to get latest updates via Email. You May also Continue Reading my Recent Posts Which Might Interest You.