
How to Use MailMunch opt-in form to grow your Mailchimp Email List-: Email Marketing has a very important role in blog growth. It is a hard fact that 95% of your new website visitor would not come to your website This factor is the same with almost every website.
It is strongly recommended from my end to use Email Marketing from day one when you start your blog or website. email subscription awesome method to convert your website visitor into a subscriber and these subscribers will be your customer.

Email marketing allows you to segment your customers into different lists based on their preferences to send highly personalized content. From crafting the perfect subject line to images that resonate with your customer, and valuable content that helps your audience, email is the perfect channel to drive engagement.
What is MailMunch?
With Mailmunch you can create beautiful opt-in forms without writing a single line of code. MailMunch captures leads from your website and converts visitors into life-long readers, email subscriber and customer. Mailmunch has a form of all type which you can choose as per your requirement.
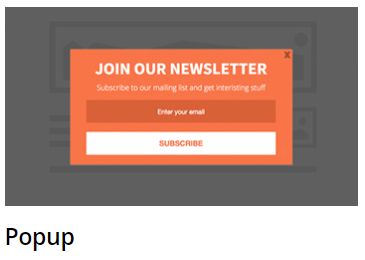
Popup Form-: Lightbox that opens on any page and prompts the visitor to subscribe. Very high converting.
Embedded Form-: Insert an embedded opt-in form anywhere on your page or sidebar using a simple code.

Top Bar-:A floating bar that can be added at the top or bottom of any page to increase subscribers.

Slide Box-: Politely slides up when the visitor scrolls your page. Less intrusive but very attention grabbing.

Landing Page-: A beautiful landing page that is optimized for leads. Share on Facebook or ad campaigns.

How to use MailMunch to grow Mailchimp Email List-:
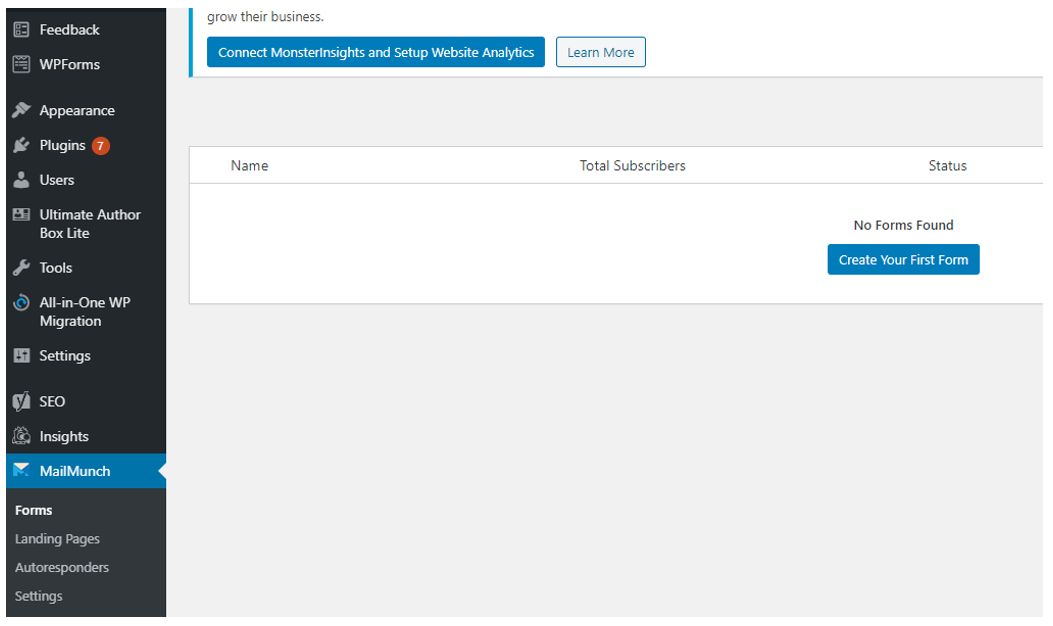
Step.1-: First, install and activate Mailmuch WordPress Plugin. I hope you have Mailchimp account, if not then create one and create your first email list. If you do not know how to create Mailchimp email list Click here to know about it. Once you install the plugin now it is time to create New Form.
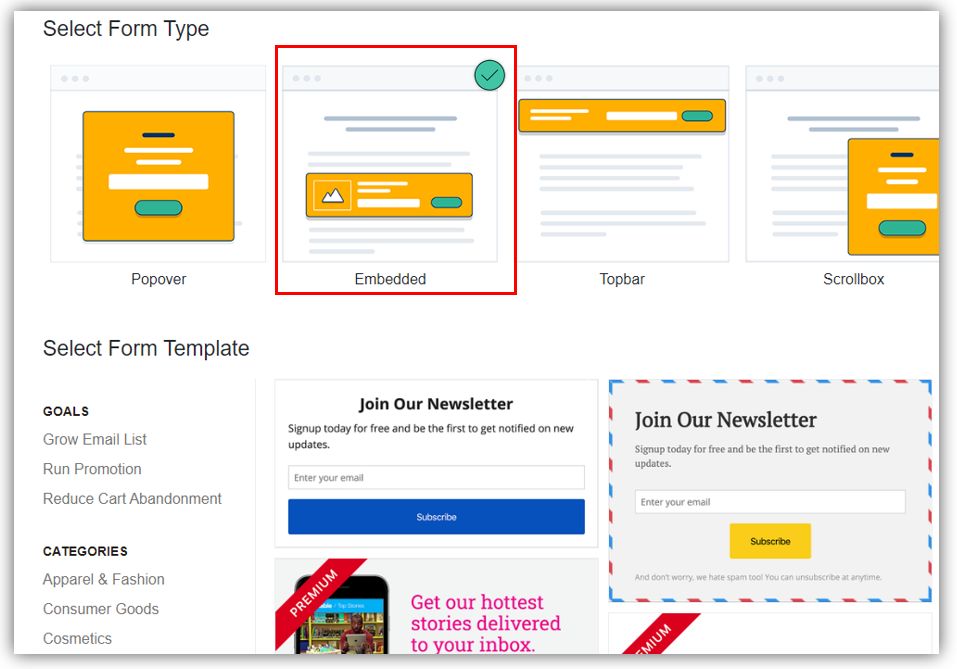
Step.2-: In the next step select form type and template. For example, I selected Embedded type of form.
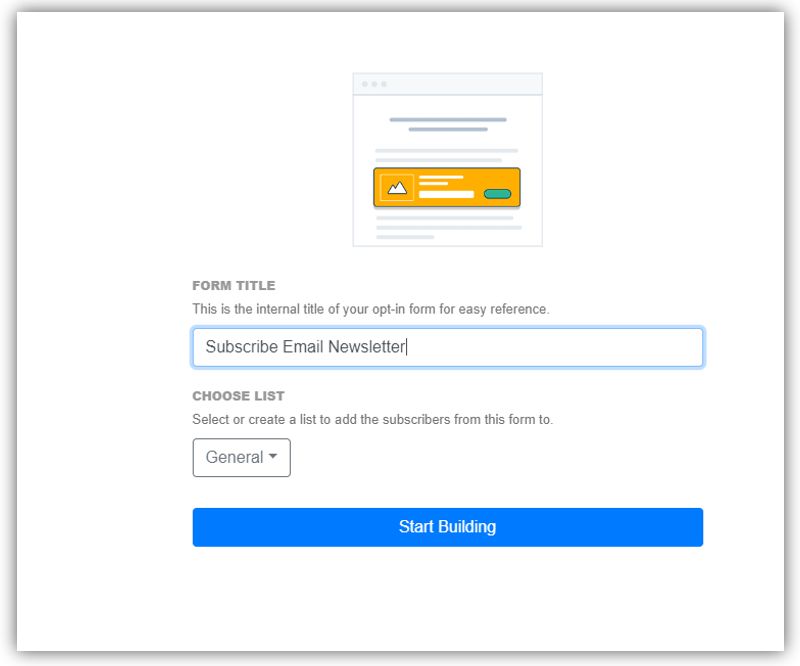
Step.3-: In this Step Give a name to your Form. For example, I have given the name subscribe Email Newsletter.
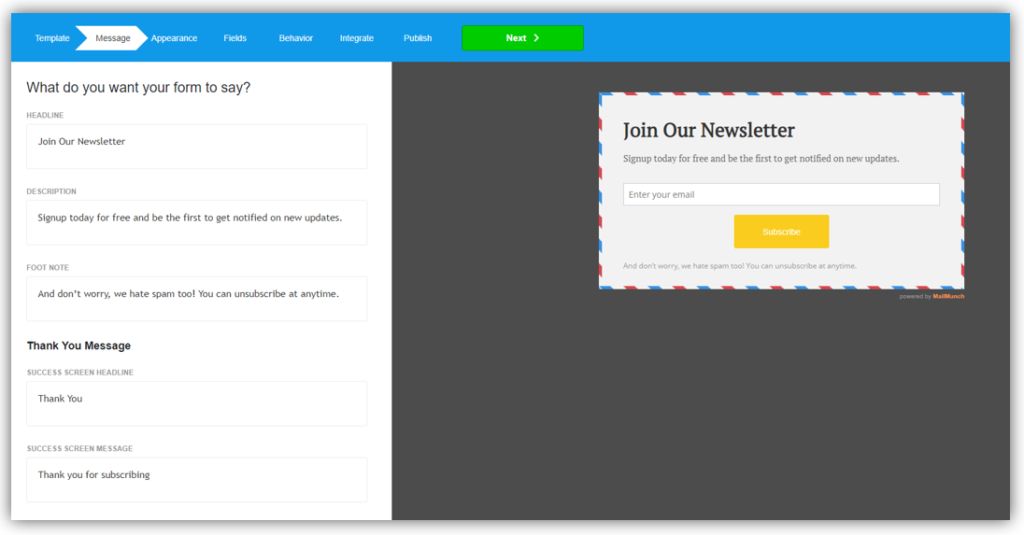
Step.4-: At this step give custom message and Footnote to your Newsletter.
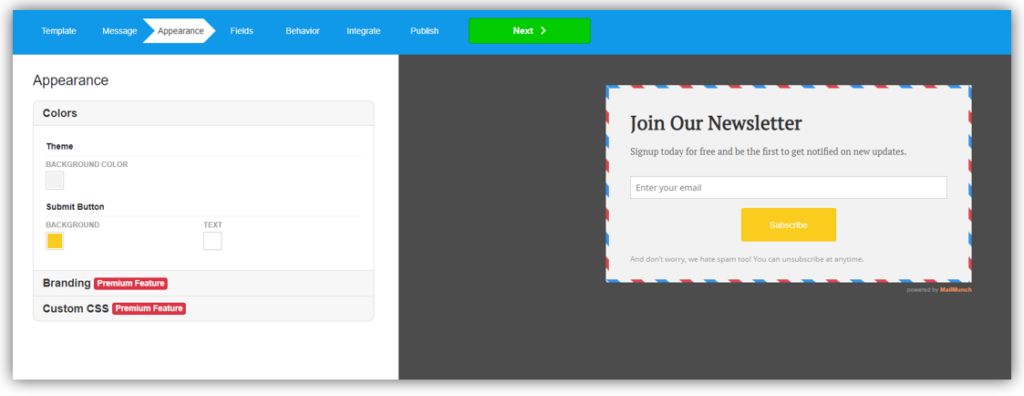
Step.5-: In this step, you can give a custom colour to your Newsletter.
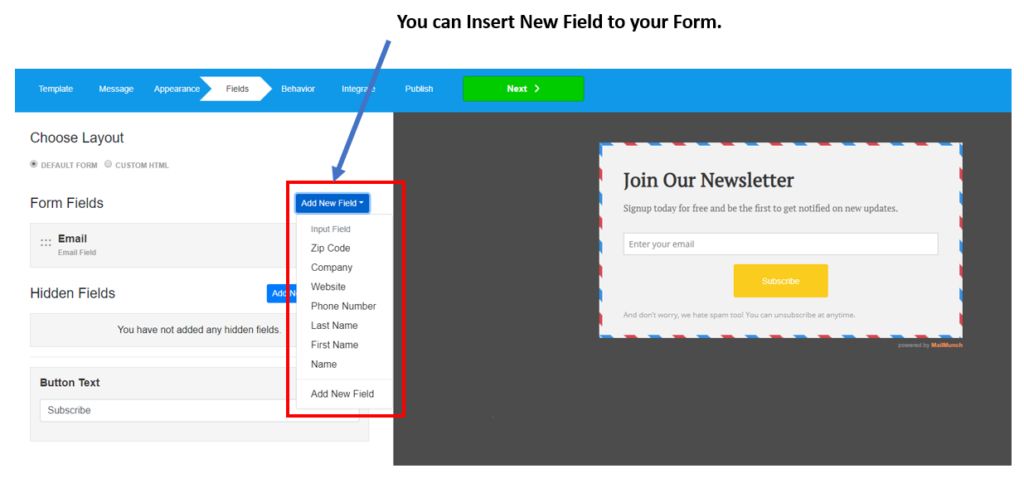
Step.6-: In this step, you can add more custom field to your form.
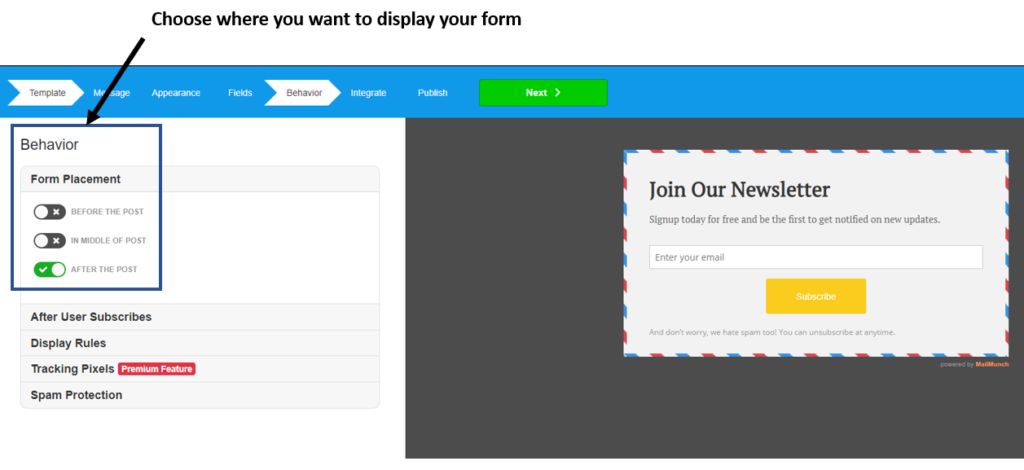
Step.7-: In this step choose behavior of your Form. where you want to display on your WordPress Post or pages.
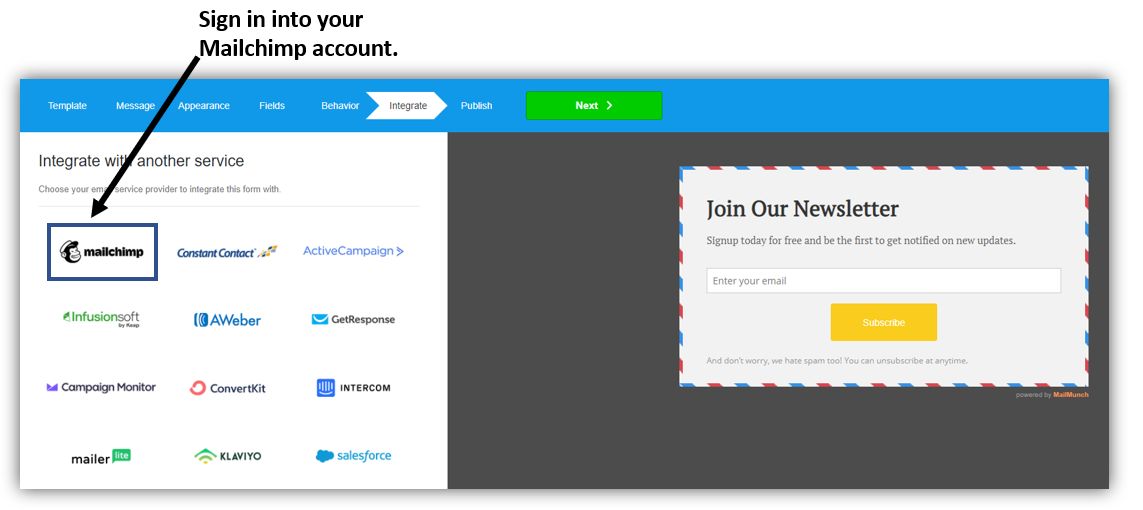
Step.8-:This is most important step where we will add Mailchimp Email List to Mailmunch form. select Mailchimp icon and sign in into your Mailchimp account.
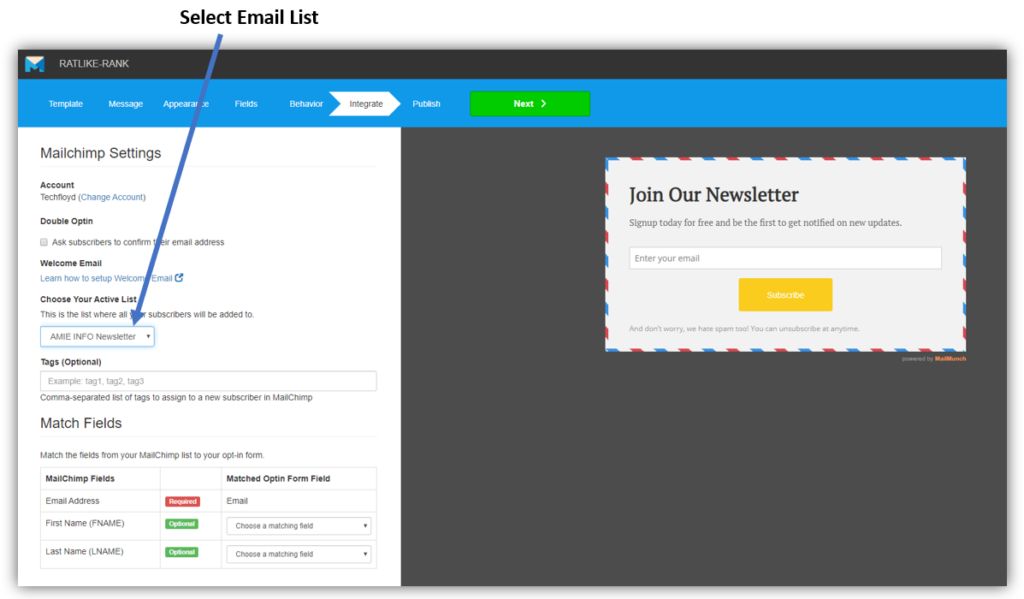
Step.9-: Now select your Mailchimp Newsletter from the drop-down list to integrate, once you did that you will get code which you can embed at you desired location on your website.
Thanks for reading…“Pardon my grammar, English is not my native tongue.”
If you like my work, Please Share on Social Media! You can Follow WP knol on Facebook, Twitter, Pinterest and YouTube for latest updates. You may Subscribe to WP Knol Newsletter to get latest updates via Email. You May also Continue Reading my Recent Posts Which Might Interest You.